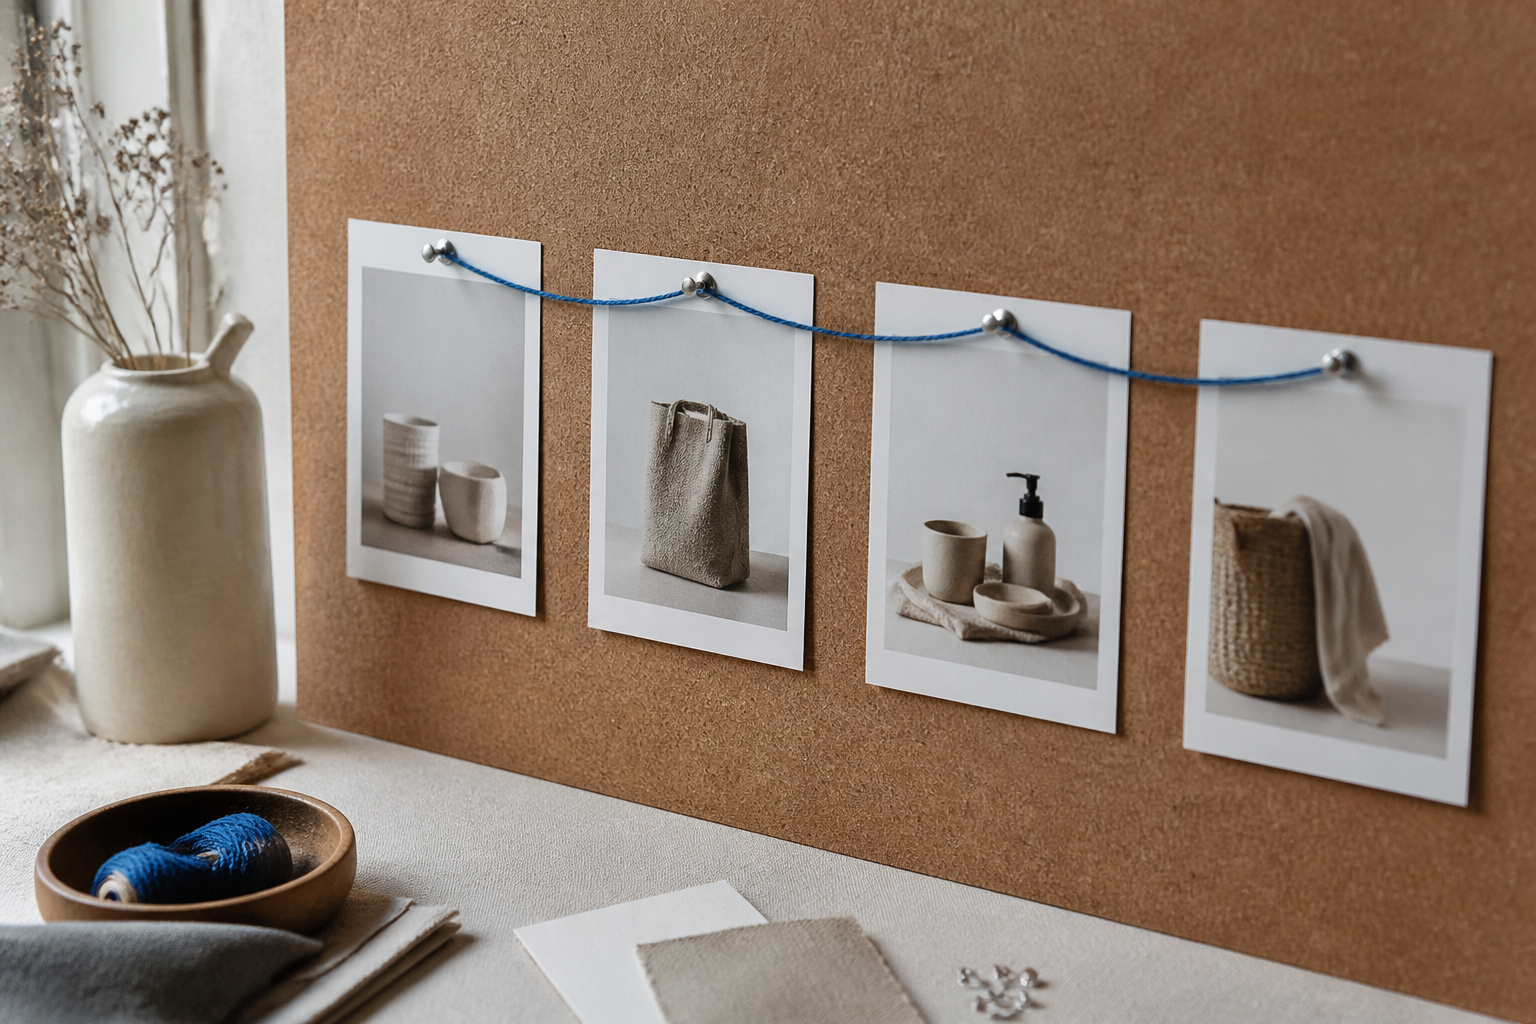
This is for small brands and solo founders who have product photos or screenshots but no camera, crew, or editing habit. You don't need footage. A handful of clean stills, a short script, and some motion will get you a working ad.
Here's the short version: pick 4–8 photos, write a hook that reads in the first two seconds without sound, map each photo to a timed shot, add captions and a voiceover, then export the ad in every aspect ratio you need. Below is the full process with scripts, timings, and sizes.
What you'll need
- 4–8 product photos or screenshots, ideally clean and high resolution (the ad is only as sharp as the stills).
- One clear thing you want the viewer to do (visit, buy, sign up).
- A tool that can animate stills, burn in captions, and export multiple sizes.
Step 1: Pick the offer and the one action
Decide what the ad is for before you touch a photo. One ad, one message, one action. If you're trying to explain three features and two offers, the viewer gets none of them.
Write the action as a single line: "Get 20% off your first order" or "Book a free consult." That line becomes your end card.
Step 2: Write the hook for the first two seconds
Most feeds autoplay muted. If your first frame doesn't make sense with the sound off, the viewer scrolls. Your hook has to land as text and image, not as narration.
Three hook types that work muted:
- Problem on screen: show the pain. "Your soap bottles keep ending up in landfill."
- Result first: show the end state. "One dispenser. Zero plastic bottles."
- Bold claim with proof shot: "This replaces 12 plastic bottles a year" over the product.
Put the hook as large caption text on the opening frame, not buried in a voiceover. Keep it under 7 words.
Step 3: Choose 15 or 30 seconds and write the script
Shorter ads get watched to the end more often. Use 15 seconds for a single-benefit prospecting ad and 30 seconds when you need to show a feature or walk through a few points.
15-second structure:
0–2s   Hook (caption on product/problem shot)
2–6s   The product + the main benefit
6–11s  One proof: texture shot, before/after, or a detail
11–13s Offer line
13–15s End card: brand + action + logo
30-second structure:
0–2s    Hook
2–6s    Problem stated plainly
6–12s   Product as the fix (main benefit)
12–20s  Two to three proof shots (features, close-ups, use)
20–25s  Offer + one trust line (guarantee, reviews count, shipping)
25–30s  End card: brand + action + logo
Write the voiceover and the captions as two columns so they stay in sync. The caption is usually a shortened version of what's spoken.
Step 4: Turn each photo into a shot list
A shot list is just your photos assigned to timings with a motion each. Stills don't have to sit flat — a slow push or pan reads as video. Match one or two photos per segment.
| Time | Photo | Motion | Caption |
|---|---|---|---|
| 0–2s | Dispenser on a messy shelf of bottles | Slow zoom in | "Still buying plastic?" |
| 2–6s | Clean dispenser, hero shot | Slow pan left | "One dispenser. Refill forever." |
| 6–11s | Close-up of pump + refill pouch | Cut, then zoom | "Refills ship flat. No waste." |
| 11–13s | Starter set flat lay | Hold | "Starter set — free shipping" |
| 13–15s | Dispenser + logo | Hold | "Shop now" |
Rules that keep it from looking cheap:
- One motion per shot. Mixing zoom and pan on the same still looks jittery.
- Cut on the beat or on a caption change, not randomly.
- Screenshots: crop to the part that matters and zoom in. A full UI screenshot at phone size is unreadable.
Step 5: Add voiceover and captions
Captions are not optional. Treat them as the primary channel and the voiceover as a bonus for people who turn sound on. Every key line — hook, benefit, offer, action — must appear as text on screen.
For the voiceover, read your script out loud and cut anything you stumble on. Keep sentences short; a voiceover that races to fit the timing sounds rushed. If a line doesn't fit, cut words, don't speed up.
Caption style that stays readable:
- Large, high-contrast text with a background bar or outline.
- Keep captions inside the safe zone so platform UI (buttons, usernames) doesn't cover them.
- Two lines max on screen at once.
Step 6: Export every size you need
Each placement crops differently. Build the ad once with the important stuff in the center, then export the sizes below. If your subject or caption sits near an edge, it gets cut.
| Ratio | Where it runs | What gets cropped |
|---|---|---|
| 9:16 | Stories, Reels, TikTok, Shorts (full screen vertical) | Top and bottom covered by UI; keep captions centered |
| 1:1 | Feed posts, older feed placements | Sides trimmed from a wide shot |
| 4:5 | Instagram/Facebook feed (tallest feed ratio) | Slightly tighter sides than 1:1 |
| 16:9 | YouTube, landscape placements | Top and bottom trimmed from a vertical |
A simple rule: shoot and frame for 9:16 and 4:5 first, because those take up the most screen on mobile. Keep all text and the product inside a center safe zone so the 1:1 and 16:9 crops don't cut them.
If you're unsure what a given platform crops, the Social Aspect-Ratio Checker shows the crop and safe zones for Instagram, TikTok, LinkedIn, and others from a single upload.
Step 7: Check the plan and cost, then test two variants
Before you generate the final files, review the shot list, the script, and the cost. Catching a wrong caption or a low-res photo now is cheaper than redoing exports.
Then make two variants, not one. Change exactly one thing so you learn something:
- Same ad, two different hooks (problem vs. result).
- Same hook, two different offer lines.
Run both to the same audience and keep the one with the better watch-through or click rate. Changing two things at once tells you nothing about which change mattered.
Mistakes to avoid
- No captions. Muted autoplay is the default; a silent ad with no text is a blank ad.
- Logo first. The opening two seconds are your most valuable; spend them on the hook.
- One size only. A 16:9 ad squeezed into a 9:16 slot wastes most of the screen.
- Too many messages. One offer, one action. Cut the rest.
- Jittery motion. More than one movement per still, or speed ramps on everything, looks amateur.
- Low-res stills. Zooming into a small or blurry photo makes it worse. Start with the sharpest versions you have.
Questions people ask
How many photos do I need for a video ad?
Four to eight is enough for a 15–30 second ad. More than that and each shot gets too little screen time to register. Fewer than four and you'll lean hard on motion to fill time. Prioritize a clean hero shot, one or two detail or proof shots, and an end-card shot with your product and logo.
Can I make a video ad from screenshots?
Yes. Crop each screenshot to the one element that matters and zoom in, because a full interface shrunk to phone size is unreadable. Treat the screenshot like a product photo: assign it a timing, one motion, and a caption that tells the viewer what they're looking at.
Do I really need a voiceover?
No — captions do the main work because most views are muted. A voiceover helps the minority who turn sound on and can add warmth, but build the ad so it fully makes sense without it. If you add a voiceover, keep it short and don't speed it up to fit the timing.
What length should my product video ad be?
Use 15 seconds for a single-benefit prospecting ad aimed at a cold audience, and 30 seconds when you need to show features or walk through a few points. Shorter ads tend to hold attention to the end. Whichever you pick, front-load the hook and benefit in the first six seconds.
Next step
Draft your script and shot list using the templates above, then decide which two variants to test. To plan how much to put behind each — awareness, consideration, conversion — the Campaign Budget Allocator splits funnel spend into clear dollar amounts.
If you'd rather turn a brief and your own photos or screenshots straight into finished files, Ad Studio builds video ads with voiceover and captions plus image ads in every social size, and shows the cost before anything is made. Specialists Juno, Ethan, and Aria can help inside it, and exports come as MP4 and PNG.